Once you know how to change your IP address on your iPhone, you’ll see more than a few benefits. You’ll keep your information safe and make sure nobody can access it. Doing this doesn’t even have to be difficult.
There are a few simple and effective ways you can do it, and it’s worth going through them.
Understanding IP Addresses
Before looking at how you can change your IP address on an iPhone, it’s worth being on the same page about what an IP address is in the first place.
An IP address is a string of numbers separated by periods. Typically, it consists of four distinct numbers, each ranging from 0 to 255. IP addresses are allocated to each device, serving as a way to identify them on a network.
Think of it as your iPhone’s social security number. Your iPhone will be the only device with its specific IP address. No other device, whether a phone, computer, or tablet, will have the same IP address at the same time.
This can be used by other people to do quite a few things. It doesn’t just identify your device. It can be used to figure out your location, as well as quite a few things. It’s an easy way for authorities or strangers to find out more about you through your iPhone.
Why Change Your IP Address?
Before diving in, it’s worth looking at why you should change your IP address on your iPhone in the first place. The main reason for this is safety.
Your IP address gives a lot of information away about your phone, and even you. If some strangers can access this, they can use it to figure out where you are, what you do with your phone, and much more. This poses a safety risk, especially when it comes to hackers and other professionals.
By changing your IP address, you make yourself safer. To do that, you’ll need to know how to change your IP address on your iPhone the right way.
How to Change Your IP Address on iPhone

With the various reasons there are to change your IP address on your iPhone there are, you could want to do it straight away. Thankfully, this isn’t too complicated to do.
It shouldn’t even take too much time or effort. So, how to change your IP address on your iPhone? There are two separate ways you can try, both of which offer their pros and cons. It’s worth diving into both of these. Which one you should go with depends on your personal preferences.
They’re both relatively easy to do, however.
Method 1: Using a VPN
Virtual Private Networks (VPNs) are often seen as the best way to change your IP address on any device. They’re quick and effective to use, and they don’t require much technical knowledge. You’ll simply have to download it and start using it. Let’s dive into what you need to know about this.
What is a VPN?
A VPN acts as a buffer between your iPhone and the internet. All of the data that’s sent from your phone to the digital world (and vice versa) is routed through this.
While VPNs can be quite technical, they’re best seen as software that acts as an intermediary between your iPhone and the digital world. It’s a piece of software that you’ll install on your iPhone – or any other device – that provides extra security for the device.
Your iPhone will be much more secure because of that. It’ll mask your IP address and make websites believe you have a different one. It’s an effective way of “changing” your IP address.
It does this without you needing to put much time or effort into it.
How VPNs Work
You might wonder how a VPN changes your IP address or switches Amazon region, no matter whether you’re using an iPhone or any other device. Once it’s installed, it acts as a barrier through which all of your web traffic is routed.
Once your online requests hit the VPN, it reroutes it and requests you. It’ll essentially perform the only search or other activity for you, then send you back the results. This gives websites the IP address of the VPN, rather than using your iPhone’s IP address. It’ll also encrypt all of the data that goes through it.
This means nobody will be able to understand or use any of your iPhone’s data, even if they could access it.
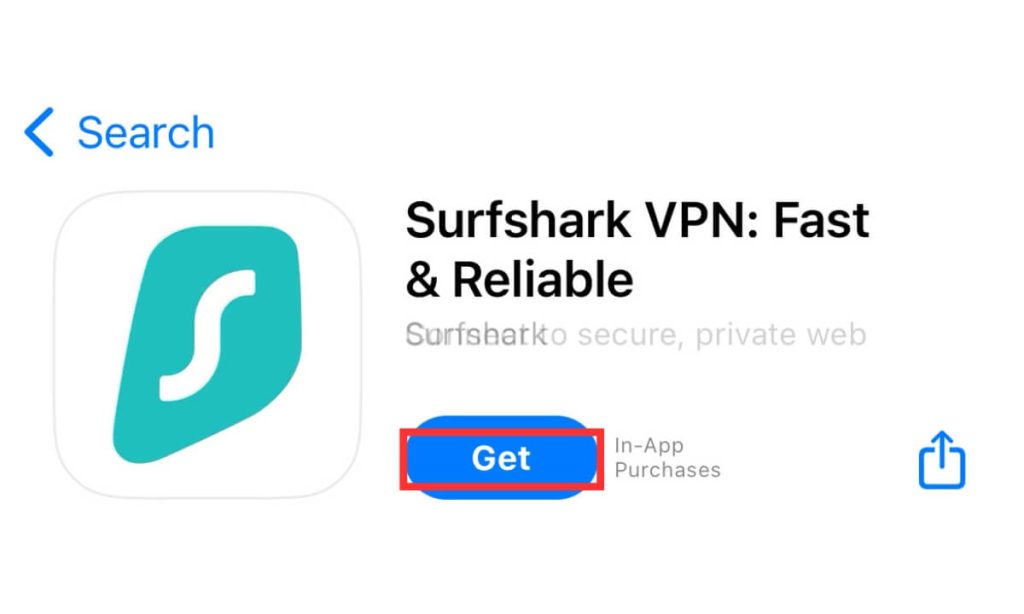
Step-by-Step Guide to Installing Surfshark VPN on iPhone
Surfshark is one of the leading VPNs you can choose, and it’s more effective at keeping your private information private. If you want to change your IP address on your iPhone, it can be the best option to go with.
To use it, however, you’ll need to install it and set it up. Thankfully, this doesn’t need to be too complicated to do. It’s just a matter of:
- Creating an account
- Downloading through the app store
- Logging in and using it
Connecting to Surfshark Servers to Change IP Address
Once you’ve logged into Surfshark, you’ll need to connect to a server to change your IP address. While that goes on behind the scenes with this could be technical, it shouldn’t be hard on your end. You’ll simply need to pick a server you want to connect to, and there’ll be nothing to worry about.
Method 2: Using a Proxy Server
A proxy server is another way to change your IP address on an iPhone, and it can be just as effective as a VPN. It’s worth diving into how you can use one.
What is a Proxy Server?
A proxy server acts as a gateway between an internet user and the internet itself. Instead of you going directly to a website, you’ll go to this server, and the server will pull in the information and webpage you’re looking for.
Through that, you’ll keep your information private, and you can even use it to change your IP address, at least as far as websites are concerned.
Configuring and Using Proxy Servers on iPhone
Proxy servers don’t need any downloads or extra software to use. It’s just a matter of going through the right steps on your iPhone:
- Open your Wi-Fi settings
- Navigating to the Configure Proxy area
- Scrolling to HTTP Proxy, and picking the Configure Proxy
- Tapping on Manual configuration
- Providing the Proxy details and saving the settings

Benefits of Using Surfshark VPN
There are plenty of VPNs out there you can use, but Surfshark is one of the more notable. It’s a popular option, and there are more than a few reasons why that’s the case. It offers more than a few benefits, even compared to its alternatives.
Some of the more notable of these include:
- It offers a higher level of security and encryption than competitors
- It’ll even mask the fact you’re using a VPN
- It’s more affordable than some alternatives
- It doesn’t slow down your internet as much as competitors do
Where to Find Your IP Address on iOS?
Before changing your IP address on your iPhone, it’s worth knowing what your IP address is in the first place. It couldn’t hurt, after all, but it could be difficult to figure out by yourself.
Thankfully, this doesn’t need to be too complicated. It just takes a few steps:
- Going to the Wi-Fi section in your Settings
- Tapping the information icon
- Scrolling down to the IPv4 Address (Your IP address should be the second entry)

Pros and Cons of Changing Addresses
Changing the IP address on your iPhone seems appealing, but it’s always worth knowing as much as possible about it before trying. That’s especially true when it comes to the pros and cons of doing it.
The positives include:
- Bypassing government restrictions on websites
- Avoiding tracking when you’re on the internet
- Accessing international content
- Gaining more privacy
- Making your iPhone more secure
It also offers a few negatives, however, and it’s worth knowing about these before trying it. These include:
- It could slow down your internet connection
- It might be expensive to use long-term
- Some websites mightn’t work with a VPN
- There could be a security risk
- They’re illegal in some countries
Why You Should Change Your IP Address
So, why should you change your IP address in the first place? To put it bluntly, it helps to keep you safe. Your IP address could give away quite a bit of information about your phone, and even let third parties access it without you knowing about it. By changing your IP address, you should prevent that and keep your information safe.
Conclusion
If you don’t know how to change your IP address on your iPhone, you’ll risk your phone’s safety. It could be at risk of strangers accessing the data and finding out a lot about you.
Don’t settle for that, though. There are several ways to do it, with Surfshark VPN being recommended. It’ll be easier, more effective, and more beneficial than you’d think.
- Monitor Calls & Text Messages
- View Photos and Videos
- Location Tracking & Geofence
- Monitor WhatsApp & Kik
- Detect & Alert for Inappropriate Activities
- Monitor Websites Visited
- Compatible with Android and iOS