
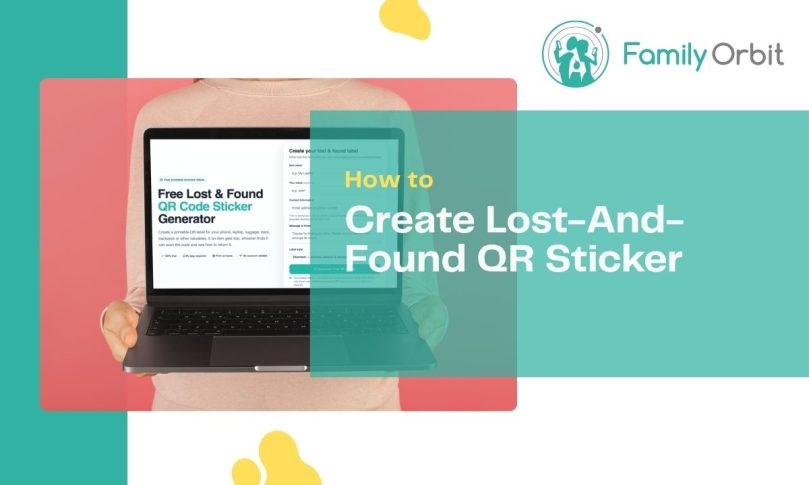
A lost-and-found QR code label is one of the simplest ways to make a phone, laptop, suitcase, backpack, keys, or another personal item easier to return. Instead of printing your phone number or email address directly on the item, you can place a small QR sticker on it. If someone finds the item, they scan the code and see the return details you chose to share.
You do not need special software, an app, or expensive recovery tags to make one. With a printer, some label paper, and Family Orbit’s free generator, you can create a lost-and-found QR label at home in a few minutes.
Quick Start
What you create
A printable QR sticker that opens a Family Orbit lost-item page with only the return information you choose to share.
What the finder needs
Any modern smartphone with a camera or QR scanner. No Family Orbit account and no app installation are required.
What Is a Lost-and-Found QR Code?
A lost-and-found QR code is a scannable code attached to a personal belonging. The code gives a finder a simple way to learn how to return the item without requiring the owner to print all of their contact information openly on the label.
With the Family Orbit generator, the QR code points to a unique Family Orbit lost-item page. When someone scans the sticker, that page can display the item name, an optional owner name, a short message to the finder, and the contact information the owner decided to provide.
On the physical label
The finder sees a QR code and a short lost-and-found message. Your email address or phone number does not need to be printed directly on the item.
After the QR is scanned
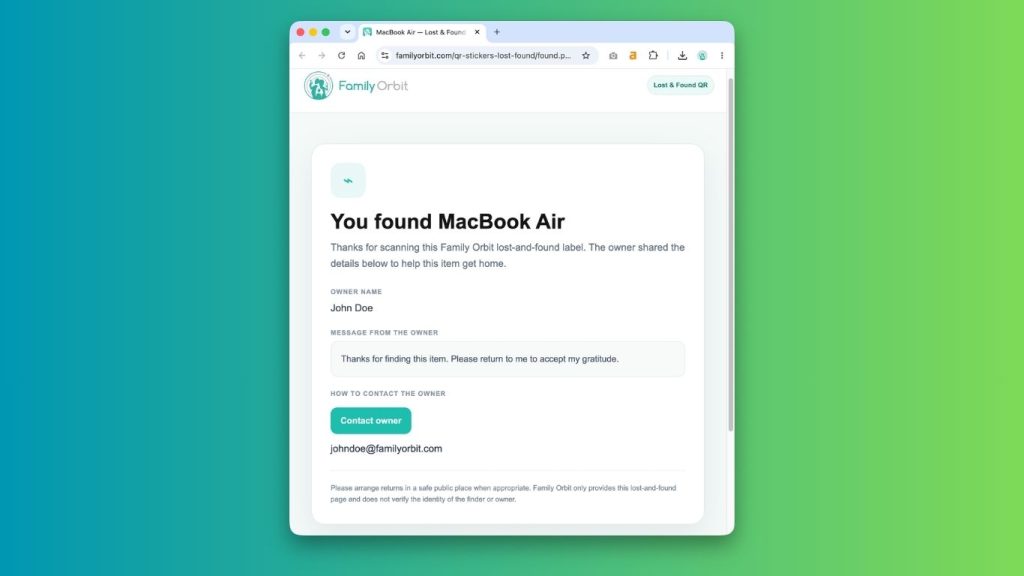
The finder opens the Family Orbit lost-item page and sees only the contact and return details that you entered when creating the label.
What You Need to Make QR Code Labels at Home
- A printer, either inkjet or laser.
- Printable sticker or label paper. Regular paper also works if you plan to attach the label with clear tape.
- Scissors or a paper cutter.
- Optional clear tape, laminate, or waterproof label material for extra durability.
- A smartphone to test the QR code before attaching it.
- A free lost-and-found QR generator such as the Family Orbit Lost & Found QR Code Generator.
How to Make a Lost-and-Found QR Code Label
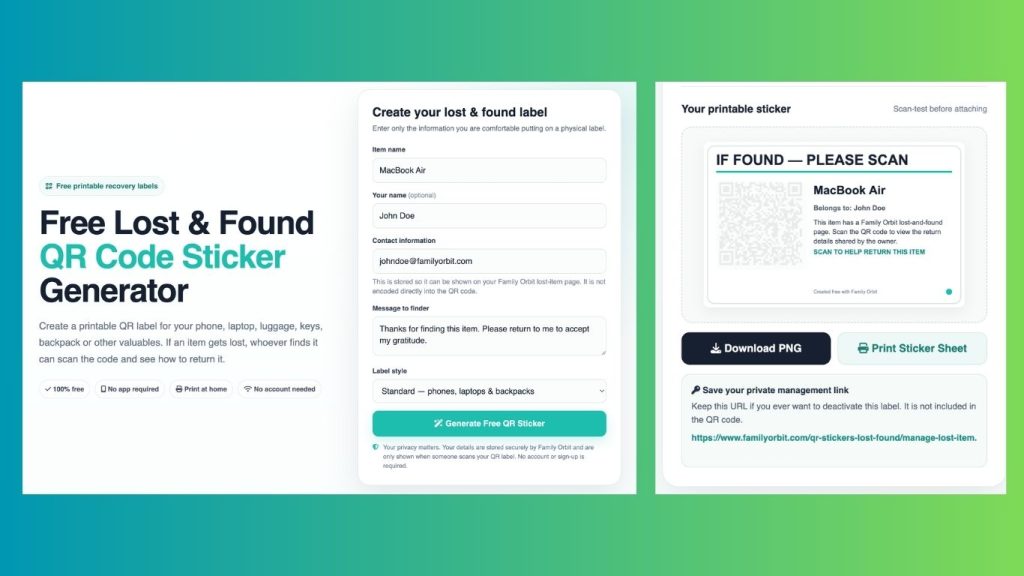
Before creating the label, decide what a stranger should be able to see if they find your item.
Useful details can include:
- Item name: for example, “Black Lenovo Laptop” or “Blue School Backpack.”
- Your name: optional. A first name is often enough.
- Contact method: an email address or phone number that you are comfortable using for lost-item returns.
- Finder message: for example, “Thanks for finding this. Please contact me so I can arrange collection.”
2Generate Your Free QR Label
Open the Family Orbit Lost & Found QR Code Generator. Enter the return information you want to share and choose the label size that best fits the item.
Family Orbit creates a unique lost-item URL similar to:
https://www.familyorbit.com/found.php?id=...
The QR code points to this page instead of directly encoding your email address or phone number into the sticker itself.
3Download the QR Sticker
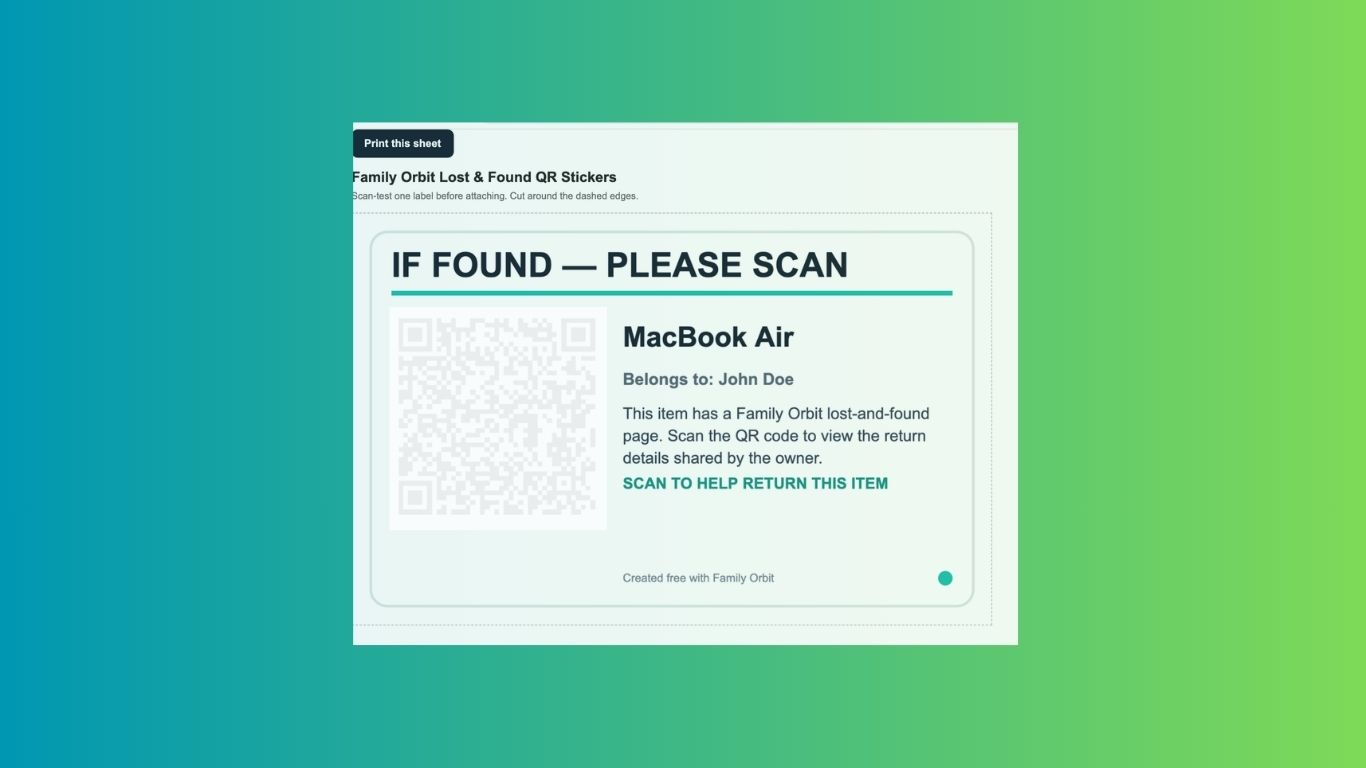
Once the label is generated, download the PNG image or use the printable sticker-sheet option. A PNG is useful when you want to place the label inside another document or label template, while the sticker sheet is convenient when printing several copies.
4Print the Label
Use normal or high print quality so the edges of the QR code remain sharp. Print at 100% scale unless your label sheet requires a specific size.
Avoid shrinking the QR code until the individual squares become difficult to distinguish. A slightly larger QR label is usually better than a tiny one that works only at close range.
5Test the QR Code Before Attaching It
Scan the printed label with your phone before sticking it permanently to the item. Confirm that:
- The Family Orbit lost-item page opens correctly.
- The item information is accurate.
- Your chosen contact information appears correctly.
- The contact method works.
- The QR code scans from a comfortable distance without repeated attempts.
6Attach and Protect the Label
Choose a relatively flat, clean surface. Smooth down the edges so the sticker does not peel or crease across the QR pattern.
For luggage, school bags, sports equipment, or anything likely to get wet or rubbed frequently, cover the label with clear laminate or use waterproof sticker paper. Test the QR code once more after covering it.
What Can You Put a Lost-and-Found QR Label On?
| Item | Good label position | Practical tip |
|---|---|---|
| Phone or tablet | Back of the case | Keep the label away from camera lenses and areas frequently covered by your hand. |
| Laptop | Underside or outer shell | Use a low-profile sticker that will not interfere with ventilation or rubber feet. |
| Luggage or suitcase | Flat outer surface or luggage tag | Protect the label from rain and abrasion with laminate or waterproof material. |
| Backpack or school bag | Tag, hard panel, or inside identification area | Avoid displaying more personal information than is needed to arrange a return. |
| Keys | Small key tag | A QR label usually works better on a flat tag than directly on a narrow key. |
| Camera or electronics | Bottom or rear surface | Keep labels away from removable battery doors, controls, vents, and hot surfaces. |
Is It Safe to Put Your Contact Information in a QR Code?
It depends on how the QR code is created. Some basic QR generators encode the contact information directly inside the QR itself. Anyone who scans or decodes that QR can retrieve the embedded information.
Family Orbit uses a different approach for its lost-and-found labels. The QR contains a Family Orbit web address. The return information you provide is stored so it can be shown on the lost-item page after the code is scanned.
This means your phone number or email address does not need to be visibly printed on the sticker. However, a person who scans the QR can still see the information you chose to make available, so you should only provide details you are comfortable sharing with a finder.
QR Code Label vs. Traditional Name Label
| Feature | QR lost-and-found label | Traditional name label |
|---|---|---|
| Contact details printed openly | Not required | Usually |
| Can include a detailed finder message | Yes | Limited space |
| Works without a smartphone | No | Yes |
| Can be printed at home | Yes | Yes |
| Suitable for phones, laptops and luggage | Yes | Yes |
A traditional label is still useful and has one major advantage: it can be read without a phone. A QR label is useful when you want more room for a return message or prefer not to print the contact information directly on the item.
How to Make DIY QR Stickers More Durable
- Use waterproof label paper for luggage, bottles, sports equipment, and outdoor items.
- Cover ordinary paper with clear tape if you do not have waterproof sticker stock.
- Round the corners of larger stickers to reduce peeling.
- Avoid flexible seams and fabric folds that distort the QR pattern.
- Keep the QR surface matte where possible. Heavy glare can make some codes harder to scan.
- Retest after laminating. A label that worked before covering should still be tested after the final protective layer is applied.
What Happens When Someone Finds Your Item?
If a finder scans a Family Orbit lost-and-found sticker, the QR opens the unique page associated with that label. The page can show the item name, the owner’s optional name, the finder message, and the chosen contact information.
The finder does not need to create an account. They can use the displayed email address or phone number to contact the owner and arrange a return.
When you create the label, Family Orbit also provides a separate private management link. Keep that URL somewhere safe. It allows you to deactivate the label later without creating a Family Orbit account.
Frequently Asked Questions
Can I create a lost-and-found QR code for free?
Does the person who finds my item need an app?
Can I make a QR code for my luggage?
Can I put a QR code on my phone or laptop?
What information should I put on a lost-item label?
Can I print a QR code on normal paper?
How small can I print a lost-and-found QR code?
Will my Family Orbit QR label keep working?
Create Your Free Lost-and-Found QR Label
You can create a printable lost-item sticker in about a minute. Choose the details you want a finder to see, generate the QR code, and download or print the label at home.
No app or Family Orbit account is required.